Walkthrough
Cities, Castles & Dungeons
A quick reference for every town, dungeon, cavern, and castle in the game — with map thumbnails and a brief note on why you'd want to visit. Entries marked Optional can be skipped without affecting story progress.
Cities
The five towns of the Isles of Terra, each with its own crisis to solve and a cavern waiting beneath the streets.
-
Fountain Head Town
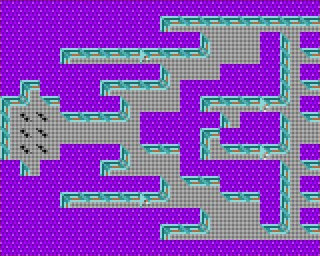
The party's home town. Free the guardian spirit Morphose from the Rat Overlord's magical prison — the game's very first quest.
-
Baywatch Town
A once-thriving seaport turned undead haven. Clear the Unholy Pits and pick up the trail to Brother Beta.
-
Wildabar Town
Overrun by the Wildabar Ninja Clan after the town's Dwarves were hired to attack Castle Whiteshield.
-
Swamp Town Town
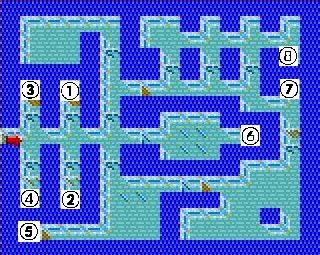
A graveyard ruled by VonEmosh — earn Buzzard's Guild membership and solve the Statue of Yud's riddle.
-
Blistering Heights Town
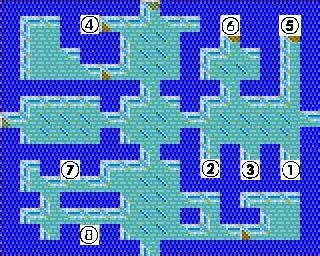
A town of magical beings on the Isle of Fire, guarded by statues that lend temporary protective magic.
Town Caverns
Each town in the Isles has a cavern below it — not always required, but always worth a visit.
-
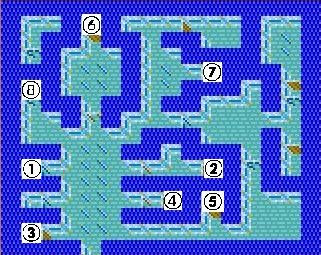
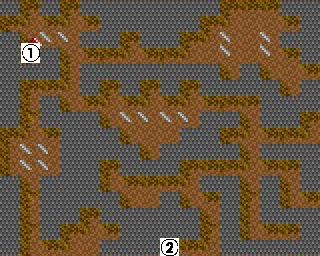
Cavern beneath Fountain Head. The Rat Overlord guards the exit — rescue Morphose and collect the skill altars.
-
Baywatch Cavern Cavern
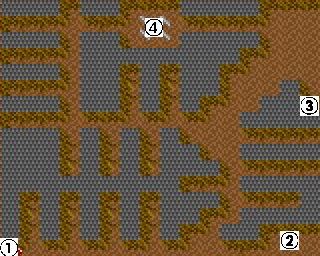
Sacred Silver Skulls and Ancient Jewelry hide beneath Baywatch.
-
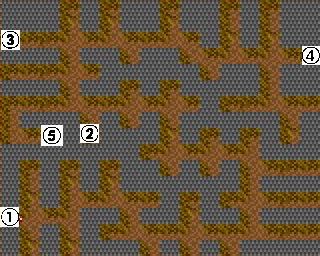
Wildabar Cavern Cavern
Captive Ogres and a witch brewing potions — easy pickings for a well-equipped party.
-
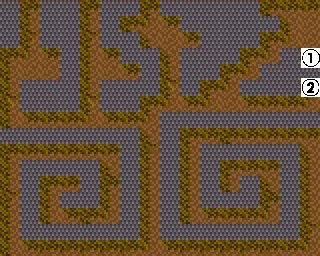
Swamp Town Cavern Cavern
Phantoms and Reapers with aging attacks. Worth visiting for the Ancient Artifacts.
-
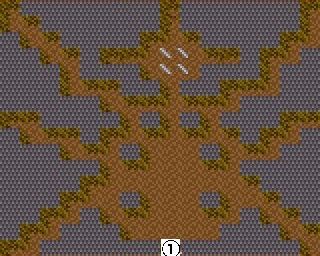
Blistering Heights Cavern Cavern
Treasures at the bottom: the Precious Pearl of Y&B and 1,000,000 gold.
Dungeons
Standalone dungeons scattered across the Isles of Terra — some required for story progress, others purely optional.
-
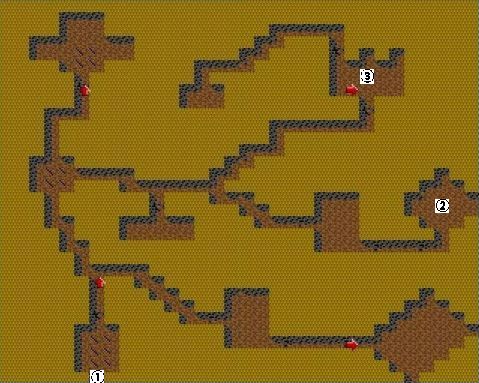
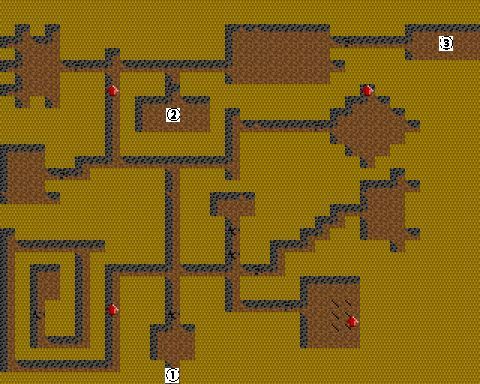
The Fire Mane statue grants your party the Crusader title — required to finish the game.
-
Quatloo and permanent stat bonuses for the whole party.
-
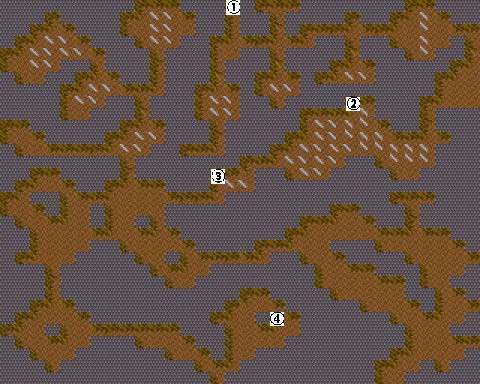
Red Warrior Key and Green Eyeball Key. Boss: Cyclops King.
-
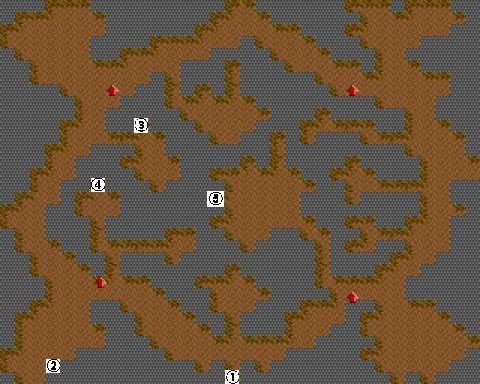
Yellow Fortress Key, Blue Unholy Key, and power crystals. Both keys can also be purchased from hirelings.
-
Magic Cavern Dungeon
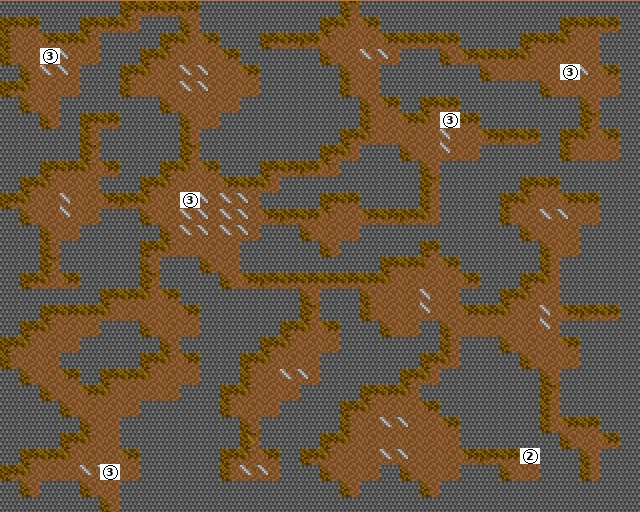
Gold Master Key and altars for rare spells.
-
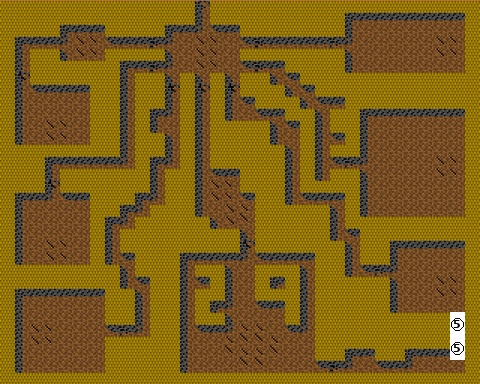
Hologram Card 003 and 2 Power Orbs. Boss: Top Jouster.
Requires: Red Warrior Key
-
-
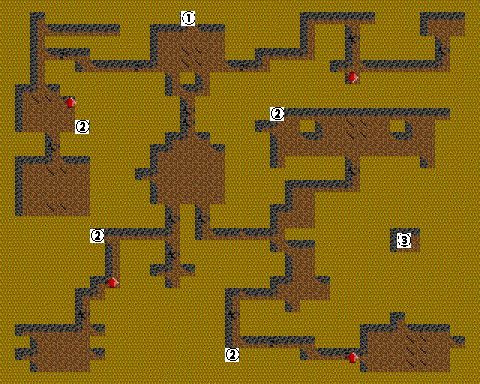
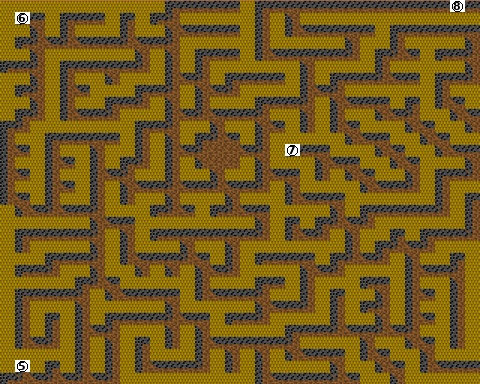
Water Mane statue → Ultimate Adventurer title; Hologram Card 006; 4 Power Orbs. Boss: Minotaur King.
Requires: Gold Master Key
Castles
Three royal fortresses, each with a dungeon below. Bring 11 Power Orbs to any king to receive a Blue Priority Pass Card.
-
Castle Whiteshield Castle
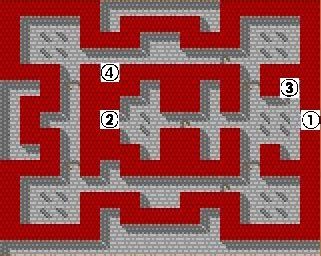
Castle of King Zealot. 11 Power Orbs → Good alignment and Blue Priority Pass Card.
-
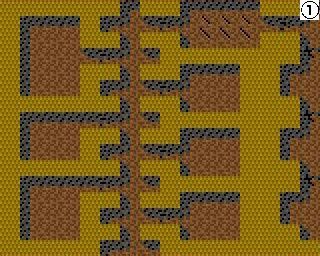
Enchanted Dwarven treasure hidden beneath Castle Whiteshield.
-
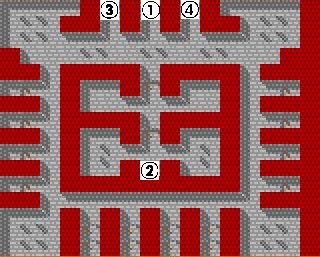
Castle Blood Reign Castle
Castle of King Tumult. 11 Power Orbs → Neutral alignment and Blue Priority Pass Card.
-
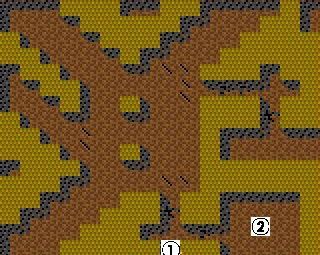
Blood Reign Dungeon Dungeon
Rescue Son of Abu and Charity; obtain the Black Terror Key here.
-
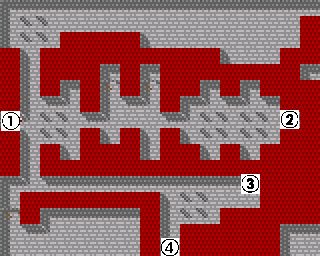
Castle Dragontooth Castle
Castle of King Malefactor. 11 Power Orbs → Evil alignment and Blue Priority Pass Card.
-
Wicked Witches and power crystals beneath Castle Dragontooth.
Abandoned Castles
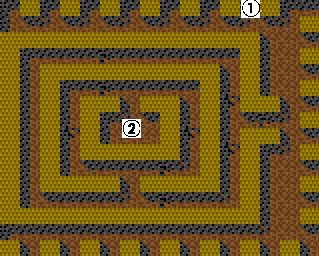
The ruins of Greywind and Blackwind in the Isles of Illusion. The two wizards' ghosts hold knowledge required to finish the game, and their thrones grant rewards — each on a single day of the year.
-
Castle Greywind Castle
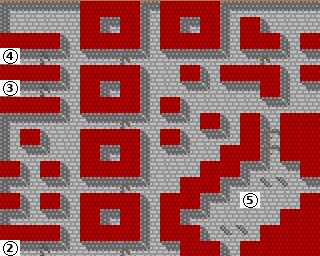
Greywind's ghost imparts knowledge required to finish the game. Three thrones work only on day 50 of the year — including +10 to all stats for the whole party.
-
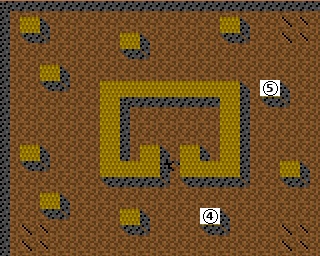
The Sands of Oolam, the Victory Gong and two treasures of 1,000,000 gold each, guarded by Death Snakes and Great Hydras.
-
Castle Blackwind Castle
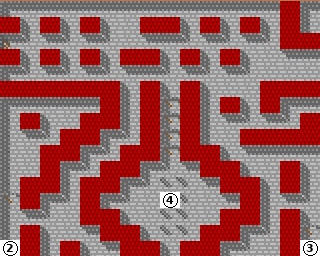
Blackwind's knowledge completes Greywind's. Thrones work on day 60 of the year; Anathema's Fountain teaches one character every spell for 2,000,000 gold.
-
Strange magic bends the corridors — stay on the hidden path. An offering of gold at Hamon Othreute's statue earns the Warlord's blessing.
Sheltem's Ship Complex
The interior of Sheltem's ship, hidden in the Isles of Fire. Here you will collect five of the six Hologram Sequencing Cards and enter the final code: BLASTOFF.
-
Hologram Card 002, 2 Power Orbs, Gold Mane statue (all skills). Boss: Eye Master.
Requires: Green Eyeball Key
-
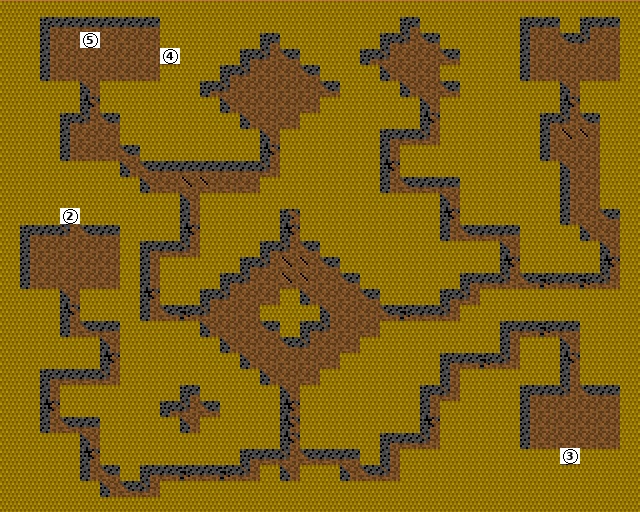
Hologram Card 004, 2 Power Orbs, and the lock/key/cup puzzle.
Requires: Blue Unholy Key
-
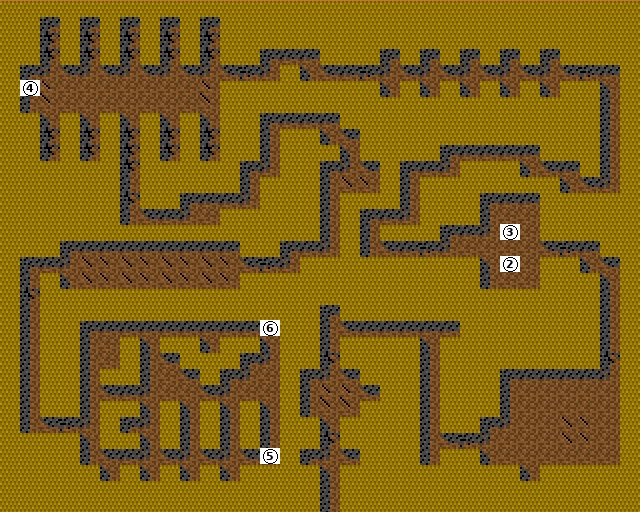
4 Power Orbs. The Dragon Lord is unbeatable — avoid engaging it in combat.
-
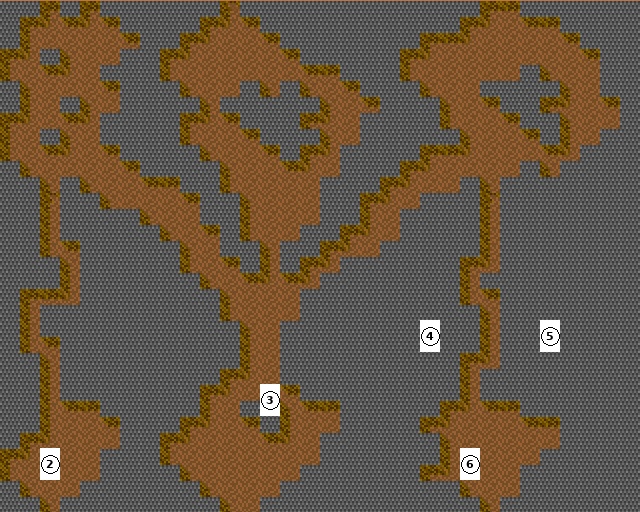
Obtain the Black Terror Key. Boss: Black Knight.
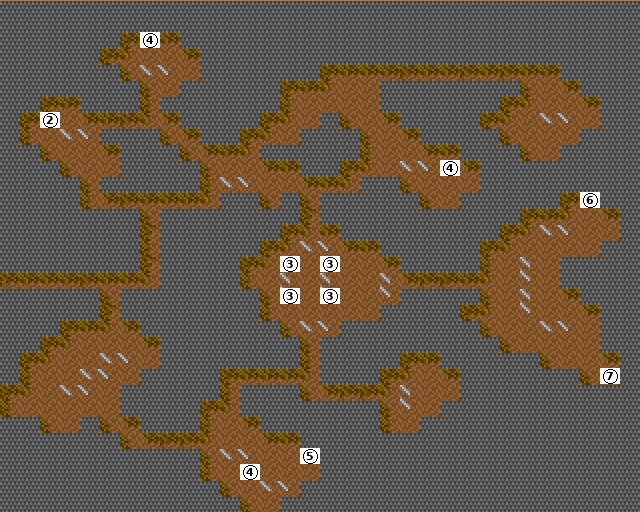
-
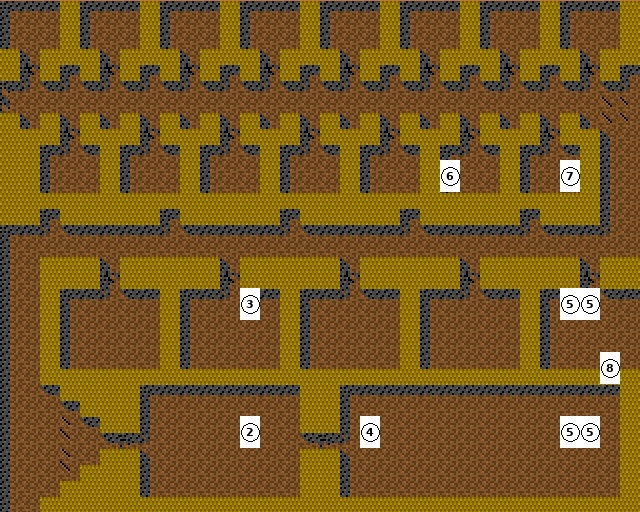
Hologram Card 005, 2 Power Orbs, 4 Mausoleum thrones (+20 levels). Boss: VonEmosh.
Requires: Black Terror Key
-
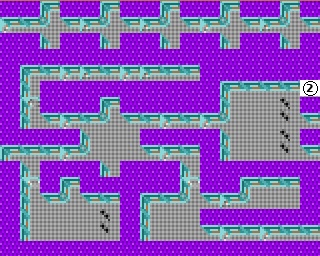
Forward Storage Sector Dungeon
Spell altars and Foerdhal's story. Requires the Golden Pyramid Key Card.
-
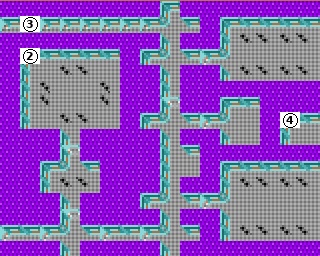
Aft Storage Sector Dungeon
3 Power Orbs and crystal lions holding mirror passwords.
-
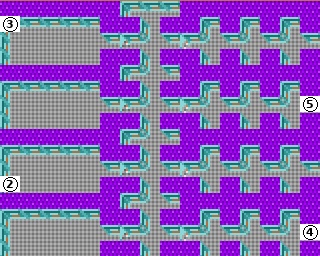
Alpha Engine Sector Dungeon
4 Power Orbs and crystal receptors with hints.
-
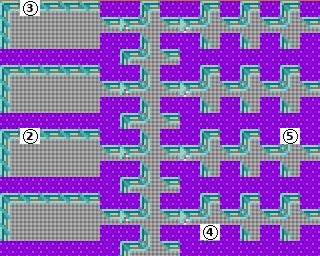
Beta Engine Sector Dungeon
4 Power Orbs; partially destroyed by the mad Foerdhal.
-
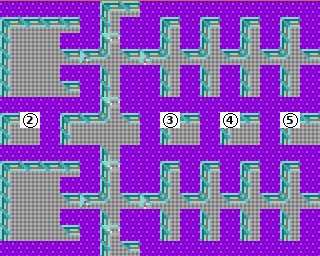
Main Engine Sector Dungeon
4 Power Orbs (row at Y8); ED-409 and the Guardians.
-
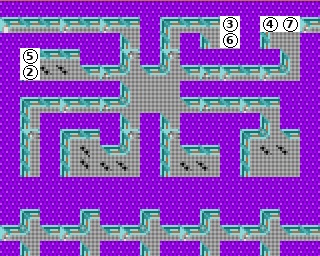
Central Control Sector Dungeon
Crystal receptors with final hints; leads to Main Control Sector.
-
Enter the code BLASTOFF — game complete.
Requires: Blue Priority Pass Card